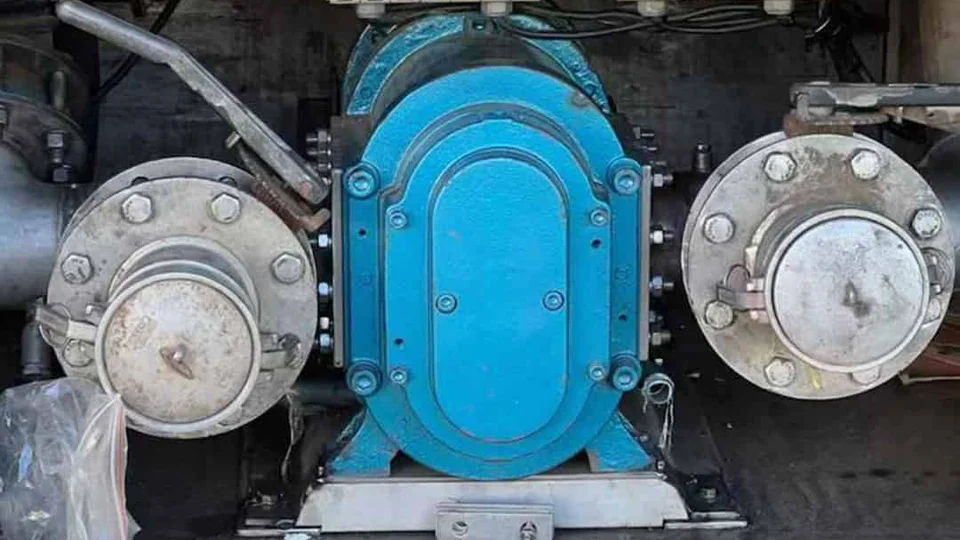
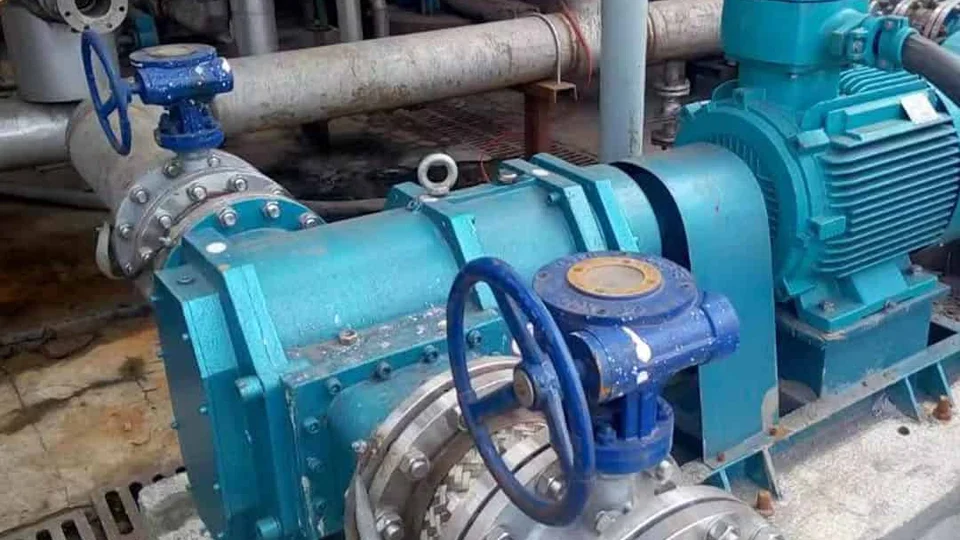
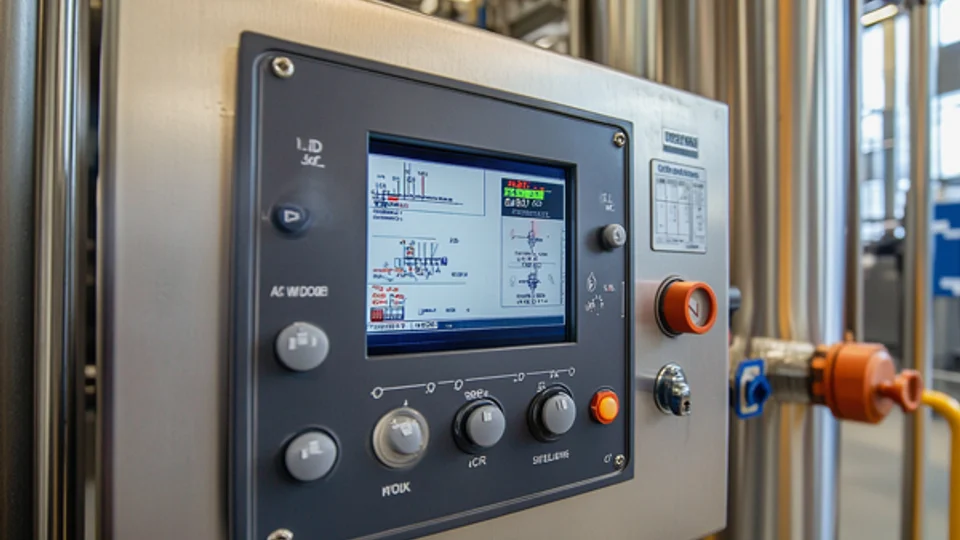
“The pump runs at the usual speed, but the tank takes longer to empty.” Worn parts are one possibility. Before opening the pump, check whether the liquid, tank level, piping, or operating settings have changed since it last ran normally.
The aim is to narrow the checks, not diagnose wear from a pressure pattern alone. Inlet problems and internal damage can also occur together. If the pump has been stopped because of a fault, use existing records; do not restart it just to collect readings.
| What you observe | What to check next |
|---|---|
| Less flow at the same indicated speed | Actual pump speed, liquid temperature, pressure difference, and the flow measurement before attributing the loss to wear. |
| Changed or unstable inlet reading | Gauge location and units, supply level, liquid condition, recent hose or valve changes, and evidence of air entry. |
| Higher outlet pressure | Downstream valve positions, recent system changes, and any recorded bypass or relief activity. Do not force a test against a closed outlet. |
| Gradual or sudden flow loss | The timeline and maintenance history. Either pattern helps choose checks, but neither confirms nor excludes wear. |
These are starting checks, not fault verdicts. Use the procedure and operating limits for the installed pump.
1. Make Sure You Are Comparing the Same Conditions
Start with a normal operating record if you have one. Compare flow, actual pump speed, inlet and outlet pressures, motor current, and liquid temperature at the same operating condition. A VFD frequency display is not itself a measurement of pump rpm; note which value you have and any drive or gearbox changes.
Check how flow was measured, too. A flowmeter reading and an estimated tank-emptying time are not directly interchangeable, especially if the starting level or other flows into the tank have changed. Record pressure units, gauge locations, and whether an inlet value is gauge pressure, absolute pressure, or a vacuum indication. Avoid descriptions such as “weak vacuum” without the reading and its reference.
2. When Internal Wear Needs a Closer Look
If flow has fallen under comparable speed, liquid condition, and differential pressure, internal wear is worth investigating. Review earlier inspection records, operating hours, and parts replacements. A gradual decline can support that investigation, but elapsed time alone does not establish the condition of the rotors or wear parts.
Confirmation needs inspection and, where specified, clearance measurements against the service limits for the model. Photograph the condition of the fitted rotors, liners, wear plates, and casing before cleaning removes useful evidence. Visible scoring or damaged parts should be recorded, but their appearance alone does not quantify how much of the flow loss they explain.
3. Check the Supply and Inlet without Guessing from Vacuum
Compare the supply level and the inlet arrangement with normal operation. From a safe position, check indicated valve positions, visible hose condition, and recent pipe or strainer work. Note whether the fault started with a colder batch, a different liquid, or a lower tank level. Restrictions, air entry, and inadequate supply need separate checks; one vacuum reading does not distinguish them.
Include the outlet side in the review. A changed outlet-pressure reading, altered valve position, or bypass activity may explain why less liquid reaches the destination. Record what the system is doing rather than assuming all missing flow is caused at the inlet. Noise, vibration, and motor current are useful observations, but none is a unique test for suction restriction.
4. Send a Before-and-After Record
For a flow-loss request, the most useful comparison is a normal record alongside the changed condition. Include the time of each reading, units, gauge locations, and how flow was measured. Mark missing readings as unavailable. Add photos showing the supply tank connection, inlet and outlet piping, and the location of any gauges and bypass.
Describe whether the loss was sudden, gradual, or limited to startup, and what changed around that time. If the pump has already been opened, attach the inspection findings and measurements, not just the replacement-part request. We may need further checks before recommending parts or a change to the installation.
For a copyable email outline and photo checklist, see How to Prepare a Pump Failure Evidence Package. Send what you have; you do not need a complete diagnosis before contacting us.